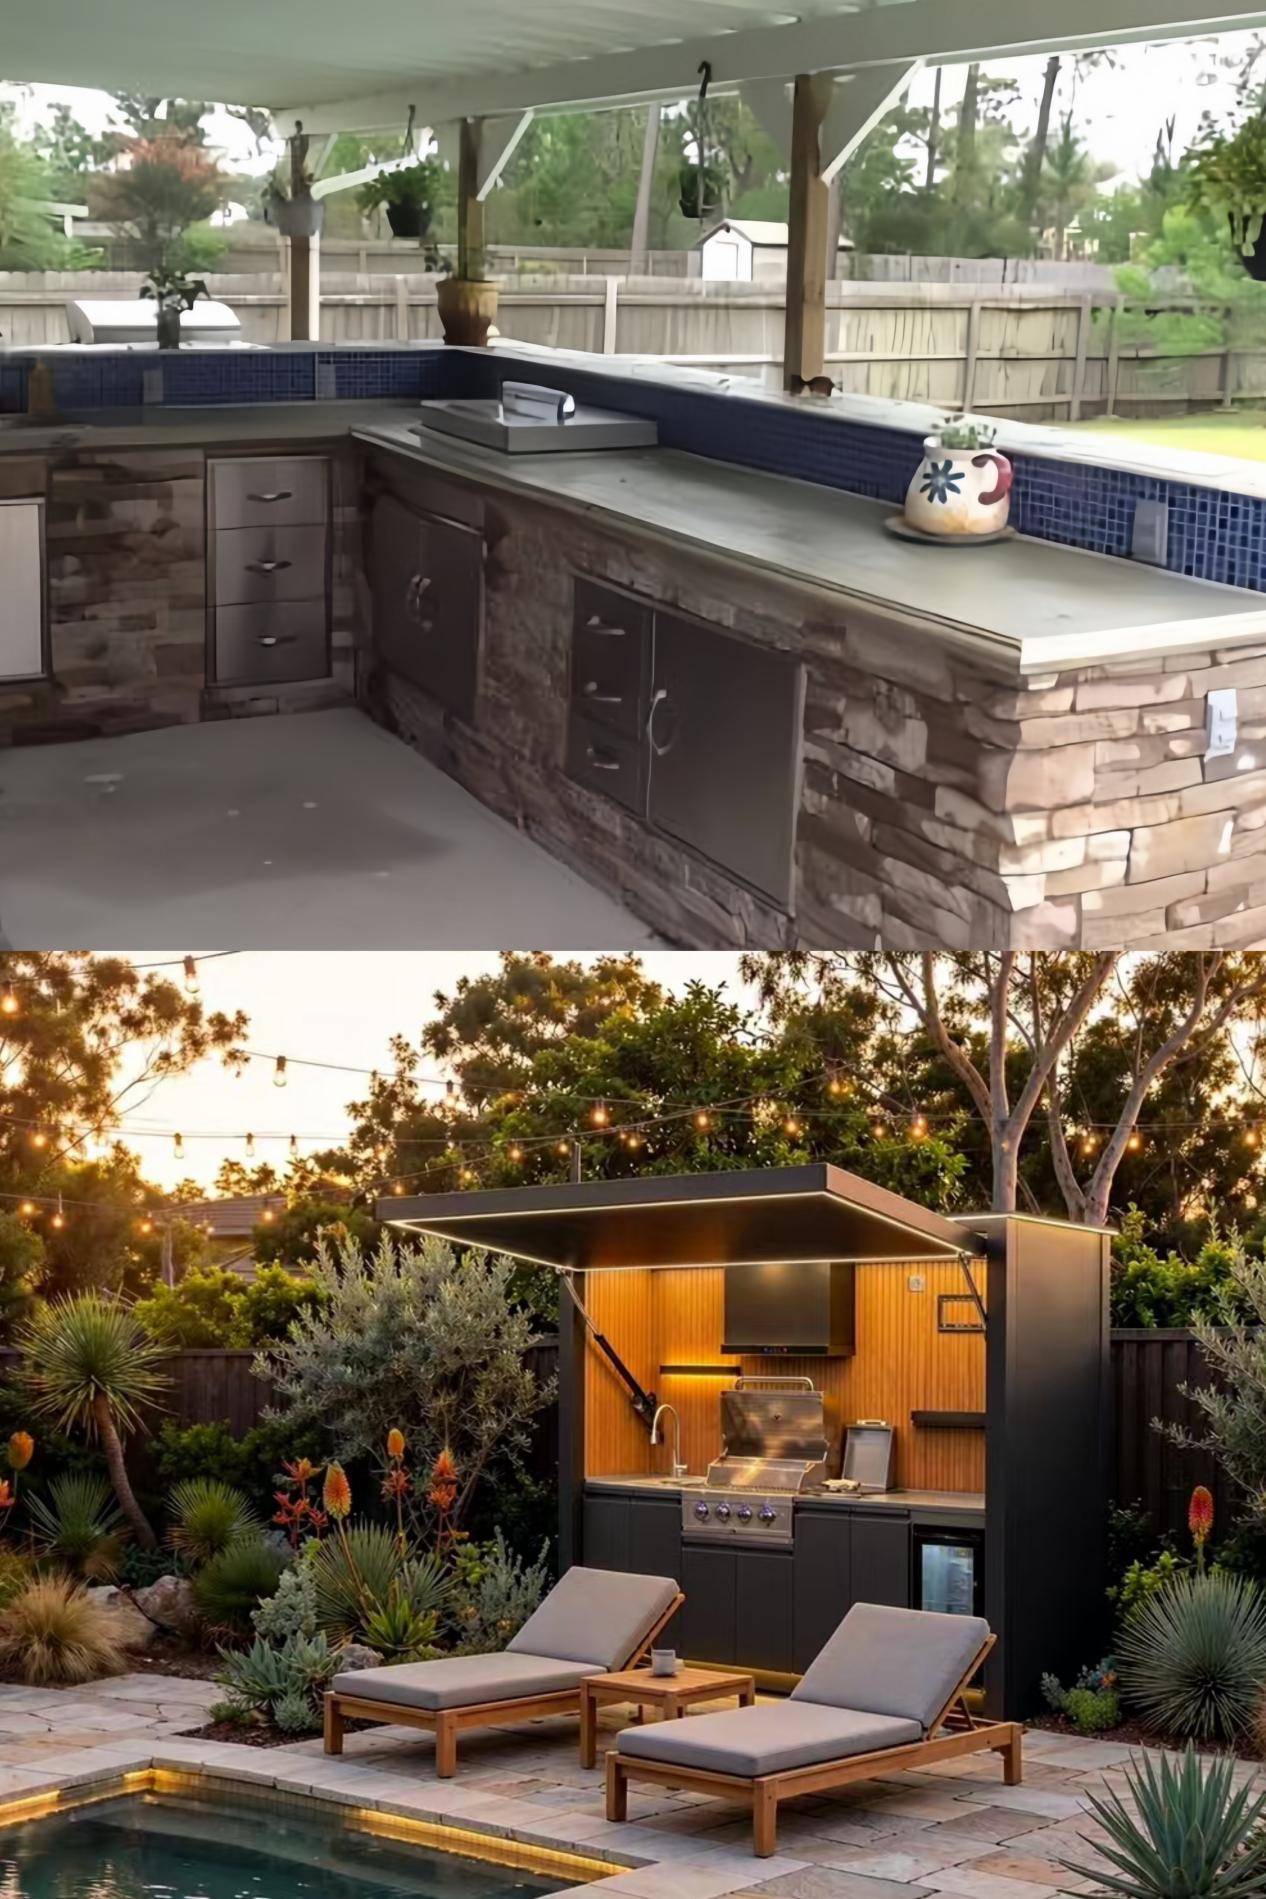
Site Preparation & Delivery Guide for Pre-Assembled Outdoor Kitchen Pods
Our kitchen pods arrive pre-assembled, with cabinetry and equipment brought together before delivery. Preparing the site around the selected model helps the delivery team coordinate placement and connections. Before your delivery date, confirm the support surface, access route and utility requirements.
Pre-Delivery Site Verification
- Foundation Substrate: Provide a structurally suitable, stable and level support surface for the selected model. Confirm the complete operating load and base requirements with the supplier and your builder or engineer. Concrete thickness, paver construction and any deck or elevated installation must be assessed for the particular site.
- Clearance Path: Measure gates, side access, eaves, corners and overhead obstacles against the final packed dimensions and handling requirements. Share the measurements and site photographs with the delivery contractor, who can determine whether ground access or crane placement is suitable.

Crane and Placement Coordination
Enclosed courtyards, elevated locations and changes in level may require specialist placement. Have the delivery or lifting contractor assess access, reach, setup space and the supporting structure before a delivery method is agreed.
- Lifting Plan: Request the verified weight and manufacturer-approved handling or lifting instructions for the selected pod. The lifting contractor should select the equipment, rigging and method for that unit and location.
- Staging Space: Agree the truck and crane setup area, ground conditions and access route with the contractor. Confirm any permits or traffic arrangements required for the proposed location.
The 4-Step Connection and Handover Check
Once the pod is positioned, complete the connection and handover checks using the model manuals and local installation requirements:
- Step 1: Confirm Position and Support: Have the placement team check the base, level, support points and required clearances using the approved method for the selected model.
- Step 2: Confirm Water Supply and Drainage: Have the plumber confirm compatible fittings, the water supply and an approved wastewater connection. Any greywater treatment or reuse arrangement must meet local requirements.
- Step 3: Confirm Electrical Supply: Match the electrical supply and connection method to the equipment documentation. Arrange a licensed electrical contractor for electrical installation work and obtain the required records.
- Step 4: Complete the Gas and Appliance Handover: Have a licensed gasfitter complete gas installation work in accordance with the appliance manuals and local requirements. Ask the installer to demonstrate the controls, isolation points and operating instructions before first use.
Your kitchen is ready to use after the required installation checks, commissioning and handover have been completed.